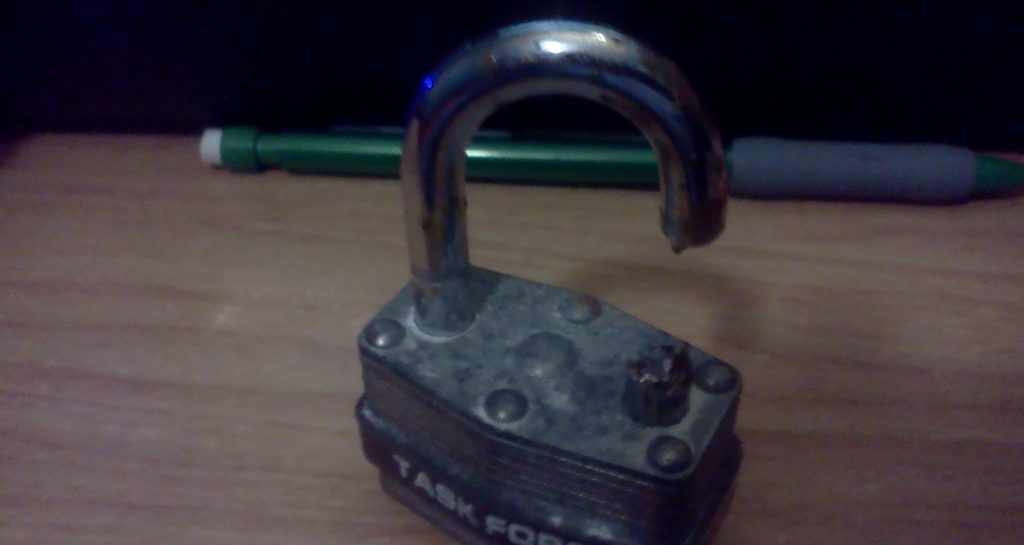
It is shockingly easy to cut off a padlock.
And thus began Maintenance Extravaganza 2013.
I had remembered the motor and the fuel tank and the battery and my Little Tikes Tool Kit and most of the parts that I wanted to install, but I did not remember the boat keys. I also didn’t really know the guy who was working in the motor shop and got to ask him the awesome question, “Hi, you don’t know me, but do you have anything that I could use to cut off a lock?”
I’ve never really had an opportunity to use bolt cutters, but man, a padlock represents an illusion of security that would make a TSA agent blush.
With the boat open, I got down to business. I reinstalled the motor (and put a padlock on it for sport) and got the freshly topped-off battery installed, which is kind of pain when the boat is on the trailer and you’re by yourself. I turned the radio on to test it and I happened to perfectly catch Angus banging out the opening riff of “Highway to Hell“, which was both fantastic and ominous, but at least the electrical system seemed basically online.
The next task was to replace the compass. Our compass is pretty old. The glass is very hazy and either it or the oil is discolored (and the oil is low). I thought about trying to polish it and add some oil to it, but it’s also designed such that you have to look at it from above to see where you’re going, and since it’s mounted on the bulkhead it’s pretty much impossible to see your course from the helm. We asked Santa for a new one, and I’m glad that we decided to go new, because it’s really sharp looking.
I’d done a test fitting on a previous outing and the hole seemed to be about the same size except for an additional rectangular cutout that was required at the bottom of the new one so I didn’t bring a whole lot of tools. In reality, it wasn’t all that close on the outer hole and was way off on in the inner hole, where it pokes through into the cabin. With a classic mix of ambition and naïveté, I went after it with a hacksaw blade and a grinding stone for about two and a half eternities and eventually got it to fit.
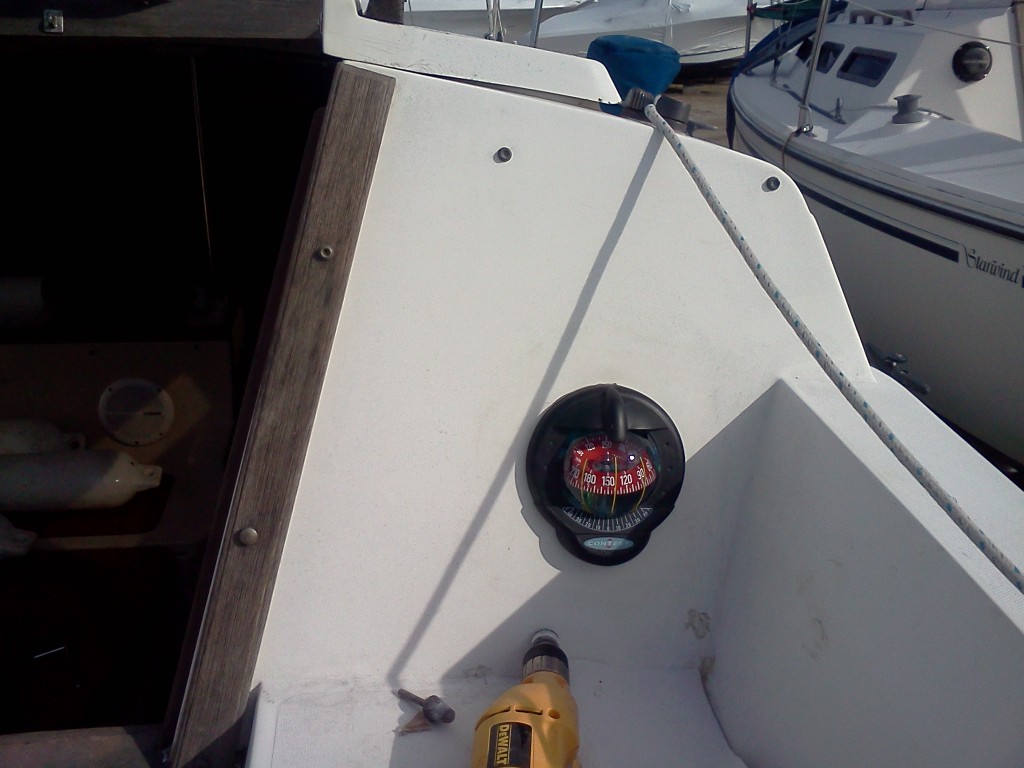
It looks pretty good, and seems to know where north is. I guess at some point I have to “swing” it (I’m not clear on whether one “swings the compass” or “swings the boat”), which is some arcane process for dialing it in and/or noting its deviation from a true reading. I’m pretty sure that it involves pointing your pelorus at a church steeple and driving your boat around in circles while chanting incantations, taking into account the Coriolis effect, the moon phase, and the whims of the sea nymphs.
The last thing I did before I left was to do some scouting to try to figure out how I was going to install our new stanchions. As I mentioned previously, three of four stanchions broke off at the welds under the weight of water that had collected on our cover. I was initially hoping to just fix them, but that seems like it will be more expensive than just replacing them and they were probably due to be re-bedded to the deck anyway. I’m a convert to the Cult of Maine Sail and his techniques for bedding deck hardware, so my butyl tape was already ordered and I just needed to figure out how to make proper backing plates for the new stanchions.
It turns out that upon further inspection, there are no backing plates in my future. There’s a fiberglass ridge that comes down from the overhead that runs right between the inner and outer bolts. It’s only purpose appears to be to hide the wiring that runs behind it, but for all I know it serves as some kind of stiffening rib so I don’t want to go cutting it up. Furthermore, the nuts on the outer bolts are so damned close to the hull that there isn’t even enough room to fit a socket around them. This is going to force me to go against another Maine Sail principal: to turn the nut while holding the bolt steady with a screwdriver. I have no room to turn the nut, so I’m going to have to hold it with a standard wrench (from below instead of from the side as one normally would use a wrench) while turning the screw on the outside, which I assume will tend to twist up the butyl. Here’s a drawing:
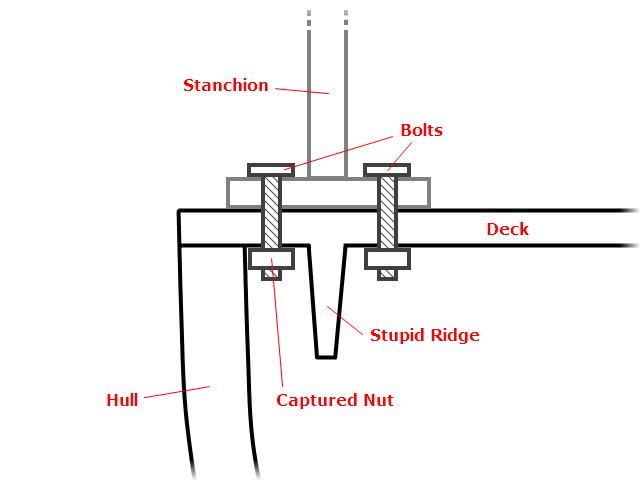
A stout backing plate would make me feel more confident in the stanchions, since it would make it less likely that the whole arrangement would be pulled through the deck in the event that the lifelines were ever tested, but at least we know that that didn’t happen when the cover filled with water and ice. I’ll just get the biggest fender washers that will fit within the limitations of the ridge. If we were planning to sail to Gibraltar I would probably be more concerned.
So that’s what I’m doing next weekend. Our other goal is to install a depth finder, which I’m sure will also be a fiasco, but at least I can make the hole in the bulkhead with a hole saw instead of a hacksaw blade and a spinning rock. Hopefully I can get the sensor to work through the hull because the thought of drilling a hole in the bottom of a perfectly good boat is too abhorrent to consider.
Stay tuned for next week’s exciting installment of boat maintenance. I have every confidence that we will sail eventually.
Chip,
Good to read about your spring commissioning adventures.
Is there room to use a split backing plate? One piece behind the “stupid ridge” and one piece on the clearer side?
I collected some scraps of FRP from boats that were pummeled by Sandy that I plan to re-use as backing plate material. I intend to thicken my scraps using more epoxy and glass cloth but most of the thickness will be recycled material.
The blog is lagging behind reality a bit. I’ll have some additional insights and lowlights shortly, but thanks for checking us out Caleb.