I spent a ton of time on the boat this weekend, but all of it at the dock. This will be a quick listing of maintenance items, just to get it into the log.

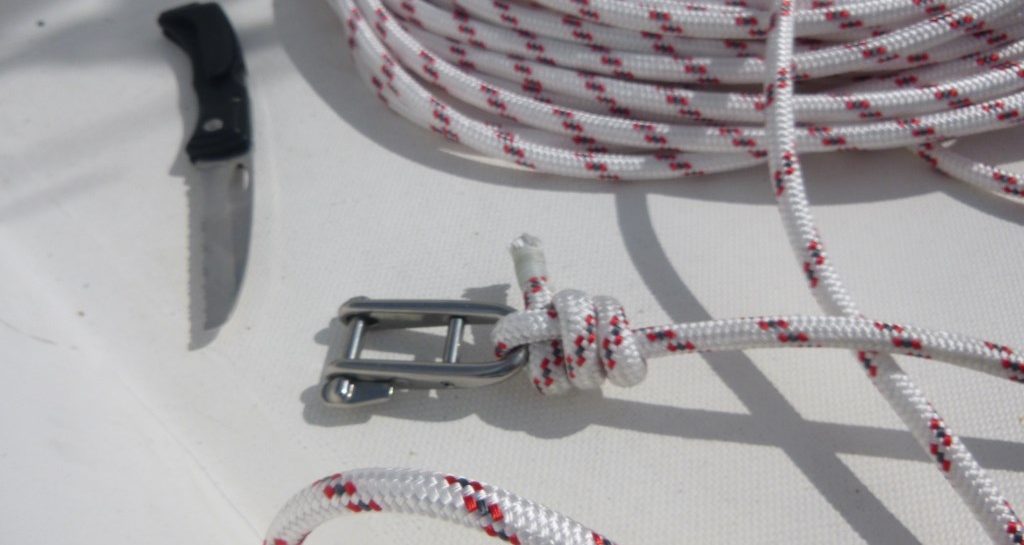
New Halyards
Yes, that’s three different colors of electrical tape. Before the old salts get up in arms, I’m completely aware of Reginald T. Dunsmore’s 1878 masterwork on rigging Ho! Zealous Yachtsman, which contains the oft-quoted the passage “Use no less than three shades of electronical tapes per halyard, lest one be caught in a tempest, unable to discern the bitter-end from the hasp!” In this case, however, I think I’m going to break with convention and try my luck without any electrical tape.
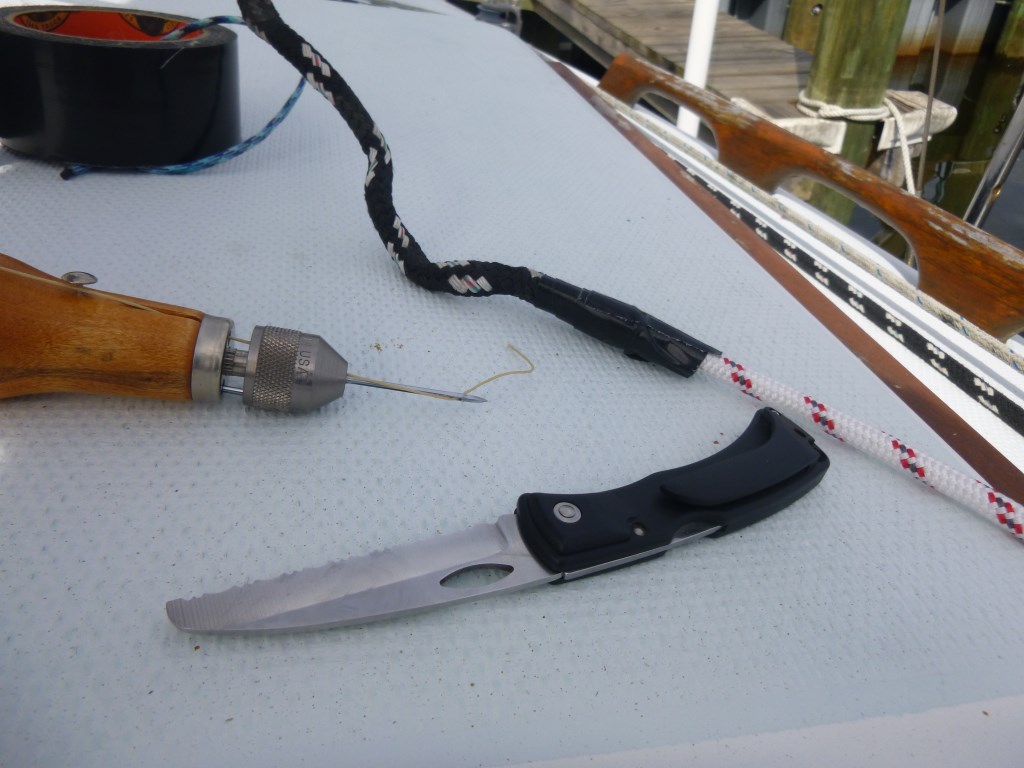
It wasn’t until I meticulously sewed the ends of the halyards together and used the old ones to carefully pull the new ones through that I realized that none of them actually made sense as they were rigged. So then I joyfully re-ran everything, possibly multiple times per halyard, so that I could discontinue using the spinnaker sheave for the jib halyard and run the main halyard on the starboard set of masthead sheaves, since it terminates on the starboard side of the mast. Hopefully not having everything crisscrossing along the mast will make everything run more smoothly, and now if we ever get up the gumption to use the spin, it will be in front of everything. This Samson XLS Extra (Dacron/poly cover and a Dyneema/MFP hybrid core) is really nice: very little stretch, very strong, and a lot easier to handle than Sta-Set X.
Other Upgrades
- I replaced our old mainsheet with Samson Trophy Braid. It has a very nice “hand,” as they say, and I like its blueness. There wasn’t anything wrong with our old mainsheet except that it was too short…with the stopper knot in the jaws of the cam cleat, the boom was still 18″ away from the shrouds, which I think hurt us dead downwind. We now have some line in reserve.
- I cut up the old mainsheet to replace our traveler control lines. The old lines were kind of mossy and stiff and abraded in places. This switch also meant that we moved up from 5/16″ to 3/8″ lines, which is about as big as would possibly fit through the blocks (and will likely lead to further premature abrasion) but at least they’ll stick in the clam cleats now. I imagine that this will hold me over until I can replace the traveler entirely.
- We re-bedded a leaking stanchion. I brought all the materials to drill out the holes and fill them with epoxy, but I’m not sure that the side decks are cored. I tried to poke an awl in there and see if the deck had started rotting, but it was all solid, so we just re-bedded with butyl and will see if it holds. It probably wouldn’t hurt to do all of them eventually.
- I installed a new bow light. We had a bow light that came with the boat (in the cupboard), but I think it was for the pre-Sandy pulpit and was incompatible with the mounting plate on the current pulpit. So I got a new one and wired it in with the requisite heat-shrink marine terminals.
- Finally, I tested the manual bilge pump and found that it does indeed work (we were told it didn’t). The only problem was that the pickup hose didn’t go anywhere. Jen and I wrangled with it, and a possible replacement hose, and couldn’t find any way to get it to go to the literal bilge, but we got it close, so at least it will do something in the event of an actual emergency.
I think that’s about it. I also acquired the kit to replace the leaking window seals, but everything else that I tried to do took three times as long as anticipated, and I’ll have to open that Pandora’s Box another time.
Stay tuned to find out what all of this preparation is for.